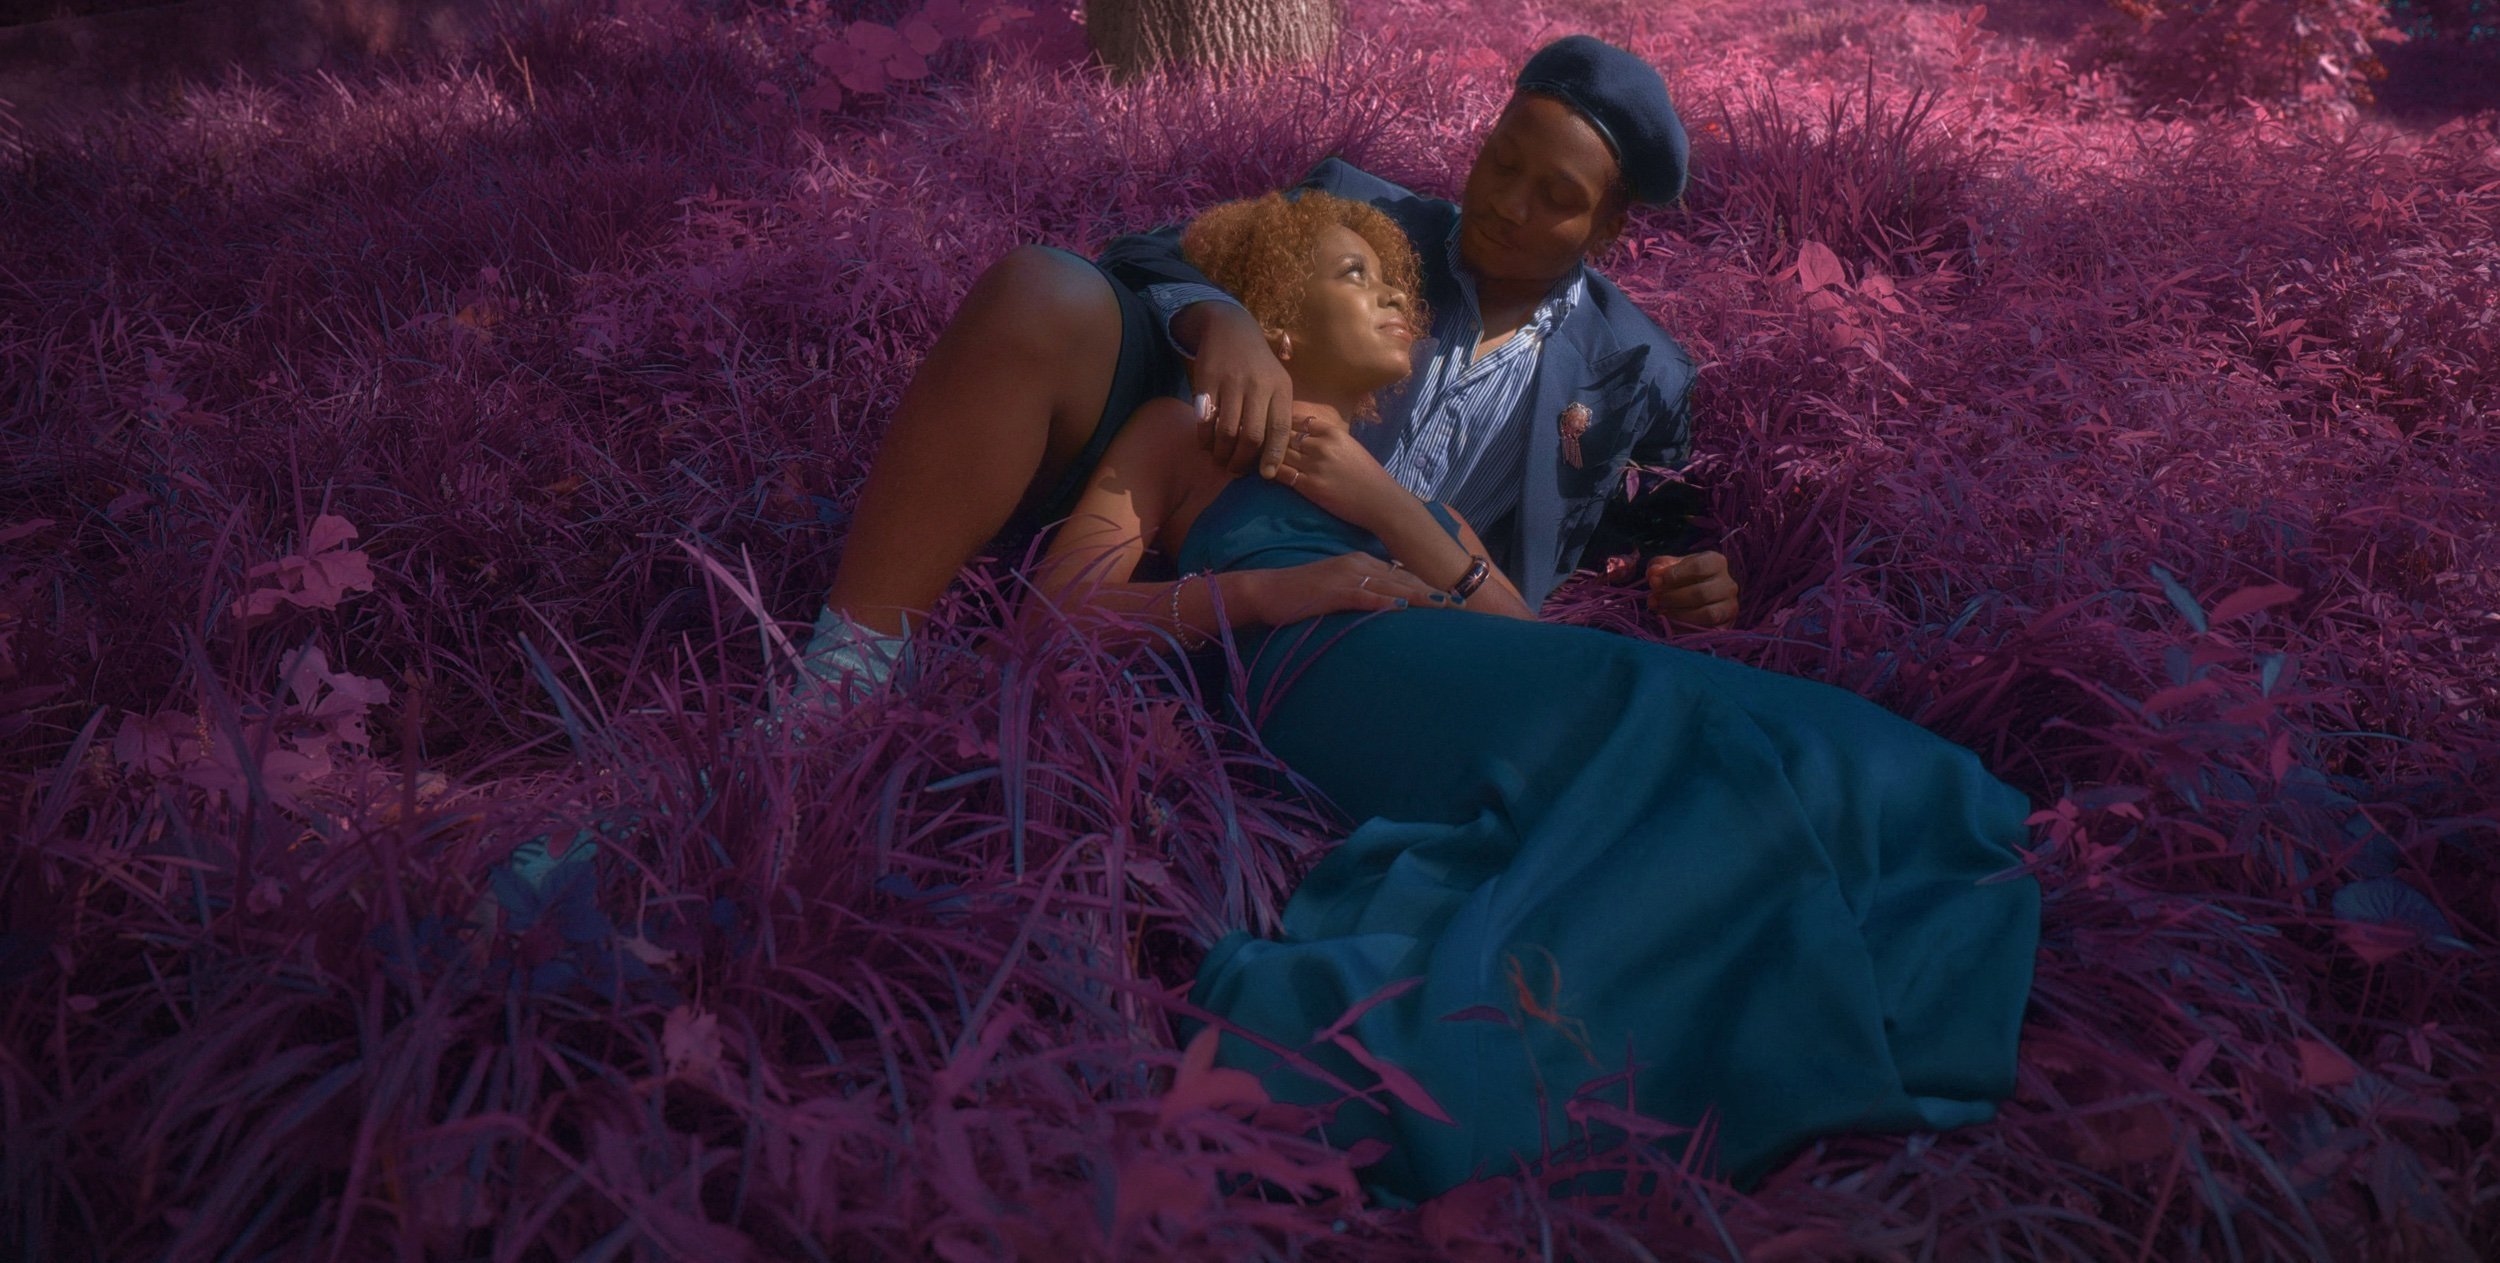
Kodak Aerochrome -Creating the Look
Definition and history
Kodak Aerochrome, created in the 1940’s as a from of reconnaissance technology to help identify enemy forces that are camouflaging within greenery. The film allows one to see outside of the visible light spectrum, which the naked eye can see between 400THz to 700THz. This allows it to capture the live chlorophyll from plans by pink and red hues because of its ability to see through atmospheric haze and the foliage. It was not until 1960 that Aerochrome was made available to the public. These days it is hard to get Kodak Aerochrome as it is discontinued around 2009 as the digital era was on the raise. Aerochrome can be found on E-Bay selling for as much as $200- $500 for a box.
Finding the process
It started with coming across the work of Richard Mosses. He used Kodak Aerochrome Film to capture the beauty and tragedy that is associated with conflict with the struggle faced by the Congolese People within his series Infra. He captures the suffering of war between The Congolese National Army and the rebel fractions showcase it the harshness and beauty of war.
I went through a rabbit hole deep diving into the various ways of recreating the look. It was something that I did tried once long ago when I was first starting out in photography 10 years ago but there was not much out there for various projects and techniques. I came across various ways to modify one’s camera to shoot in infrared along with the use of filters. Ideally yellow filter is normally added to the lens (red/orange will do as well) to reduce the blue sensitivity.
This lead to a deep dive into what cameras work best for infrared. I found that older cameras without built in IR cut filter tends to work best. A common issue was lens hot spot which is when the center of the lens tends to show up brighter with hints of blue. You had to be particular with the type of lens used to avoid this issue. Another solution would be to get rid of it by converting it to black and white at times but there is not much one can do to avoid it. As someone who is quite impatient, I found that it was quite time consuming to get a camera converted to infrared as it is best to have a professional properly convert it for you by removing the UV/IR cut filter from the sensor. Another option was to search E-Bay for converted full spectrum cameras.
Visible light is between 400nm to 700mm, Infrared would allow you to see out side of that spectrum.
Budget
Giving myself a limited budget, I had to look for alternative options to gather the Aerochrome look without the purchase of a new camera that has already been modified or needing to be modified afterwards with purchases of infrared lens filters.
Creating it in post
Why there are various ways to archive the look, a method that worked for me was to take the images in green foliage with the sunlight as my best friend as that is when Infrared would be the most visible. I did use the Cinema Hard Stop VND from Prism lens FX to balance out my highlights within my set environments. As well as notifying my models and stylist know my editing process in order to have a cohesive color palette for the final product. The Channel mixer in photoshop was the key to creating the Aerochrome look as I inverted the red and blue channel. As well as inverting the image itself and change the blend mode on the layer to color. After that it was a bit if masking and color adjustments to fit my vision for my work.
Findings
In the end, there are various ways to recreate the Kodak Aerochrome look, wether it is locating the film rolls itself, adapting a camera and purchasing of lenses, and of course good ole fashion photoshop. It all depends on the budget. I would say if you are wanting to get into it yourself to just look into the pros and cons of various processes and see what fit for you and your budget.

