
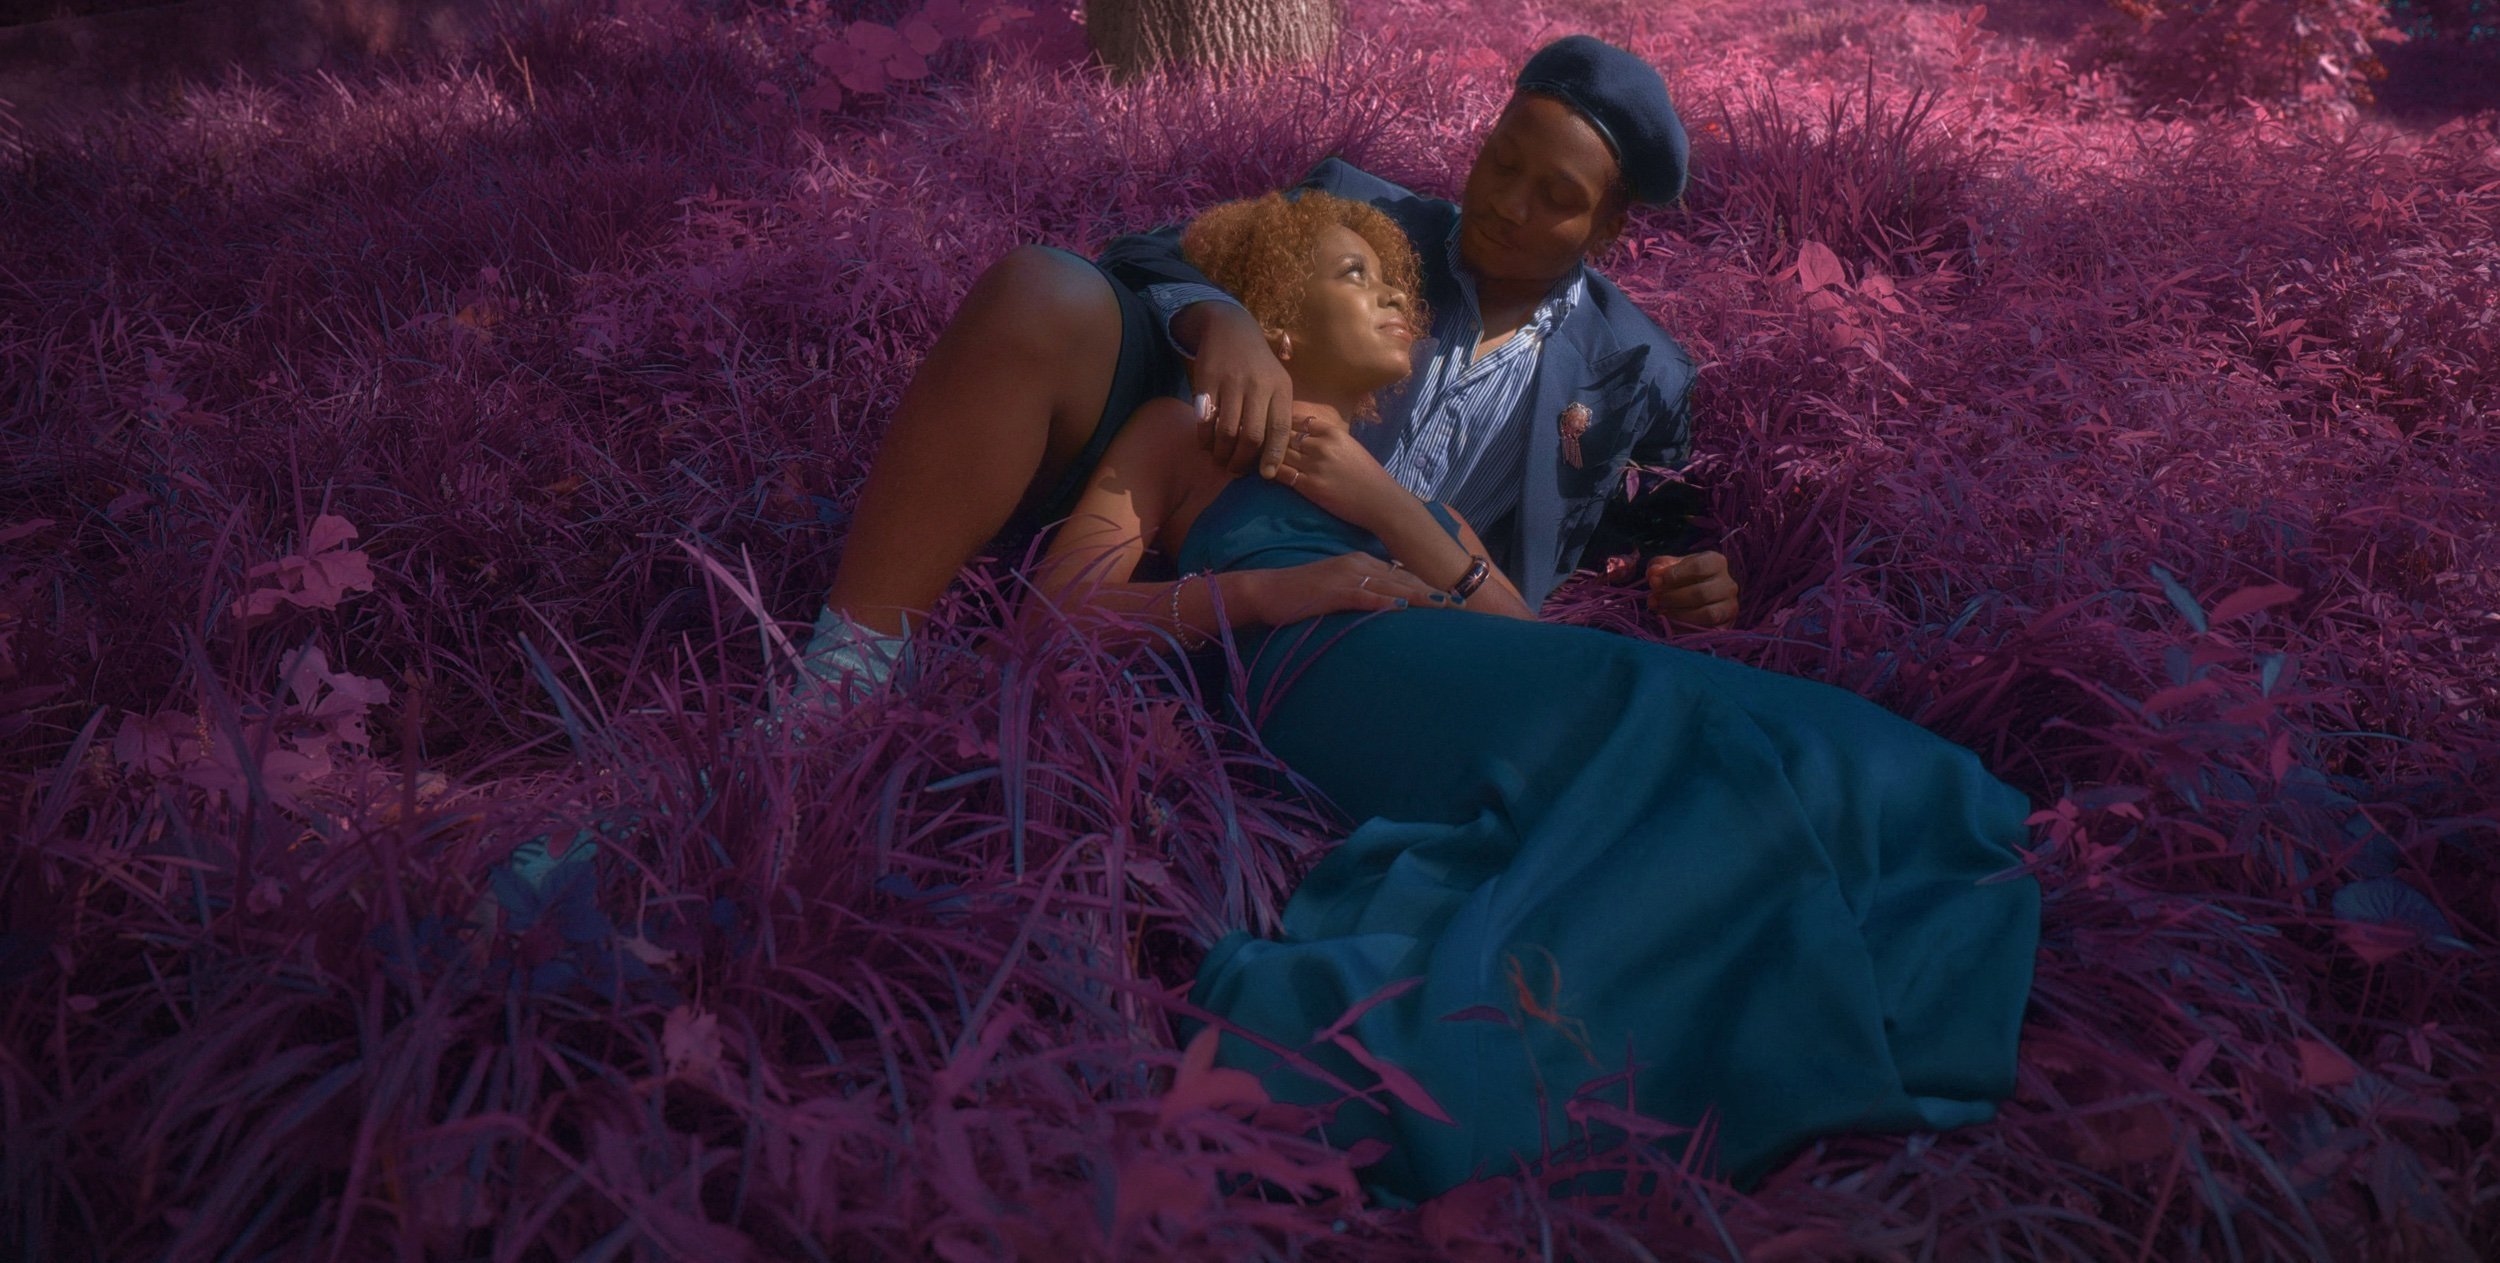
Kodak Aerochrome -Creating the Look
Why there are various ways to archive the look, a method that worked for me was to take the images in green foliage with the sunlight as my best friend as that is when Infrared would be the most visible. I did use the Cinema Hard Stop VND from Prism lens FX to balance out my highlights within my set environments. As well as notifying my models and stylist know my editing process in order to have a cohesive color palette for the final product. The Channel mixer in photoshop was the key to creating the Aerochrome look as I inverted the red and blue channel. As well as inverting the image itself and change the blend mode on the layer to color. After that it was a bit if masking and color adjustments to fit my vision for my work.